
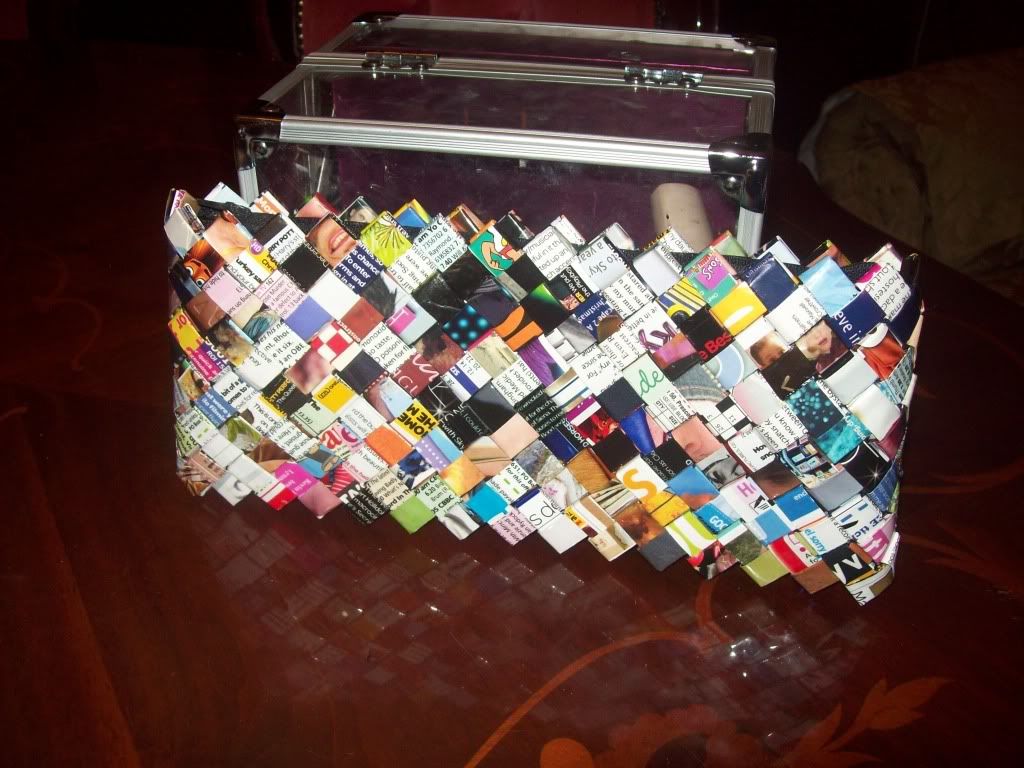
1. Make a Bag from Crisp Papers Tutorial (first shown HERE) by Rufusdog from MSE
 Original image from candypursewrapper blog.
2. Post Sorter Organiser (first shown HERE).

Original image by Bright n Blithe
This brilliant mail sorter (below) was made by from Lucy who said "I'm not organised enough to decide on just three categories to put! My label is a bit wonky but hey ho :o) I wrote on a piece of leather that I got as a swatch from Laura Ashley.

I found the tutorial really easy to follow thank you. Although I didn't use the print outs, I have saved them for one I'm going to make for my sister, which I think next time I'll do using similar material to the one in the tutorial.

Lucy also added an extra bit to make it more sturdy: "I added a fold-over hem at the top of mine which was wide enough to fit a pole through, to give the organiser the strength to hold all my unread mail and unpaid bills! I've then hung it on two hooks by a noticeboard in the kitchen."
3. Make your own Post Sorter take 2 (first shown HERE) made by ME again!

I had a go at this, but in different colours and with only three pockets. I mostly followed the tutorial, made a few bits up, sewed a few extra bits on and instead of sewing the labels on, I used sticky velcro to velcro them on incase I ever want to change them. I made some extra pretty lace roses to put on it!
I've hung it on the inside of my cupboard door. It needs finishing off a little bit better but I was pleased how it went!
A massive thank you to everyone for their fabulous items!!
And thanks to all the brilliant readers (over 1000 unique visitors in less than a month!) of .hand.made.heart.felted!
Each and every one of you make this blog what it is! Please do rate and comment on the projects as I'll get a better feel for what you all like best.
And thanks to all the brilliant readers (over 1000 unique visitors in less than a month!) of .hand.made.heart.felted!
Each and every one of you make this blog what it is! Please do rate and comment on the projects as I'll get a better feel for what you all like best.
Don't forget next Reader Showcase: Friday 26th February - get making folks!!! I have already had one eager entry!


1 comments:
Brilliant creations everyone :o)
Post a Comment